Checked-in boss knowledge
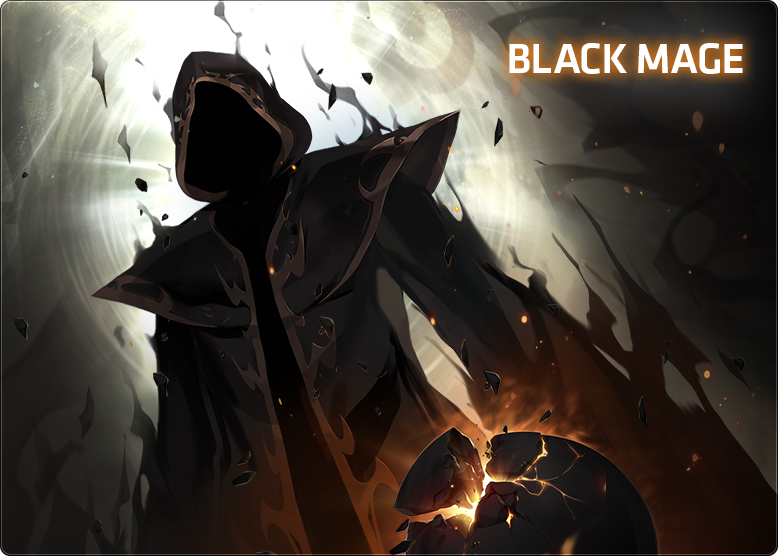
Black Mage
Four phases of curse management: never take white and black hits within 6 s, solve the full-map checks by position, then hold the right Phase 4 colour.
- Boss level
- 275entry 255
- Defence (PDR)
- 300%
- Arcane Force
- 1320
- Party
- Up to 6
- Recommended
- ≈ 45kKMS, Aug 2024
HP 166t total
- Phase 1
- 22.1t
- Phase 2
- 40.5t
- Phase 3
- 55.3t
- Phase 4
- 47.9t
- Phase 1 HP is one bar shared by both knights, plus white shields. 12 lives per player, 20-minute limit. Boss level 265 in phases 1 and 4.
Overview
Curses · 6 s each
- Creation (white): heal-over-time, burning aura
- ↓ −10% damage
- Destruction (black): +15% damage taken, no potions
- ↑ +10% damage
- Opposite curse while one is active
- ↓ −1 life · +50% HP hit
Crossing curses also seals skills for 5 s.
P2 full-map lasers
- Far leftleft hand · red
- Under himboth hands
- Far rightright hand · purple
Watch his touch knockback under him.
Arcane Force
- Entry
- 1320
- +10% final damage
- ↑ 1452
- +30% final damage
- ↑ 1716
- +50% final damage
- ↑ 1980
- Two curses Hits apply white Creation or black Destruction for 6 s; taking the other while one is active costs a life.
- Origin binds only From Phase 2, only Origin skills bind him; normal binds still work on the Phase 1 knights.
Danger
- Curse crossing Costs a life without dying; the main way runs fail.
- Instant kills Misplaced in a full-map attack or wall spawn means death. Red Lightning is near-lethal, lethal under Destruction.
- Hidden hand A Phase 2 Origin bind can hide the hand charging the full-map lasers; know the timer.
- Phase 3 chains Push, pull and lasers chain curses; stop attacking at pink lasers, no double-jumps near him.
- Phase 4 drains Bullets and explosions take most lives, and nobody sees your mistakes.
Tips
- Check your curse Before any intentional hit.
- Knights overlap Phase 1: bind and burst on overlap; their dive makes them briefly untargetable.
- Default to Destruction Phase 4 Black State: immune to black attacks, and hits give Creation, so potions still work. Swap only for pillars.
- Break the Egg Basic-attack the Egg of the Beginning for rewards; the clear counts on the final kill.
Phases
Phase 1 two knights
- Two knights Aion of Creation (white) and Yaldabaoth of Destruction (black) share one HP bar.
- Closing walls They close in from the edges and spawning on you is lethal; avoid corners.
- Red Lightning Cages you for 15 s.
- Knights overlap Bind and burst when both overlap; their dive makes them briefly untargetable.
Phase 2 full-map lasers
- Chain volleys Dodge these first.
- Full-map lasers Stand in the safe spot indicated by his charging hand (see P2 full-map lasers).
- Hidden hand An Origin bind can hide which hand charges the full-map lasers; know the timer.
- Invincibility An i-frame can cover the full-map lasers if you have checked it lasts long enough; the ~10 s / ends ~2 s early figures are unverified.
Phase 3 shield bubble
- Shield bubble Stay inside it; outside you deal half damage.
- Ultimates White snowfall: under a platform. Floor vortex: on one, ideally the farthest.
- Push Crouch to avoid it.
- Chains Push, pull and lasers chain curses; stop attacking at pink lasers and don't double-jump near him.
Phase 4 pick a state
- Hidden party Party members are hidden.
- Pick a state Black (Destruction): hits give Creation, safer and slower. White (Creation): hits give Destruction, faster and riskier. Harvest key swaps.
- Pillar check Every 30 s, wrong colour dies; then he regains a barrier.
- Bullets and explosions They take most lives here, and nobody can see your mistakes.
- Burst on the barrier Buff ~3 s before a pillar check and burst on the fresh barrier; between bursts, just survive.
Strategies
P4 burst only
Low risk · Medium damage requirementOrdinary Hard with enough damage to clear within 20 minutes using bursts alone
- Between bursts, sustained damage is less productive because the barrier refills after each 30s pillar check, so you may stop attacking to survive; this is a survival choice, not a rule.
- Start buffs about 3s before a pillar check and burst on the fresh barrier.
- Four pillar checks are roughly one 2-minute burst cycle; between bursts, just survive.
Payoff Damage lands on fresh barriers while the rest of the phase is spent surviving
P2 laser iframe
Low risk · Medium damage requirementAny difficulty, with an i-frame you have checked covers the whole Phase 2 full-map attack
- Save the invincibility for the Phase 2 full-map lasers (or a Phase 3 ultimate) and keep attacking through it.
- The guide's ~10s length and ~2s early end are unverified; test your own class's coverage and know the safe spot as the fallback.
Payoff Turns the Phase 2 full-map check into a free damage window
P4 black: safer
Low risk · High damage requirementPhase 4, for a safer clear
- Pick Destruction (Black) State with the Harvest key as Phase 4 starts.
- Dodge white attacks; a hit gives Creation (heal-over-time, -10% damage), so potions stay usable.
- Swap only for pillar checks, then return to Black; check your current curse before any swap.
- On Extreme the game sets your state at random every 30s, so Black cannot simply be held there.
Payoff Hits give only the Creation curse, so healing and potions stay available and mistakes are punished less; its -10% damage makes the phase slower.
P4 white: more damage
High risk · Medium damage requirementPhase 4, for a faster clear when you can dodge cleanly
- Pick Creation (White) State with the Harvest key as Phase 4 starts.
- Dodge black attacks; a hit gives Destruction (+10% damage, +15% damage taken, no potions).
- Swap only for pillar checks, then return to White; check your current curse before any swap.
- The +10% figure is the KMS/GMS value; on Extreme the state is set at random every 30s.
Payoff Can be faster, but the damage bonus only comes from taking a hit for the Destruction curse, which also blocks potions and adds 15% damage taken.
Notes
- Monthly clear Hard and Extreme share one clear per month.
- MapleSEA changes v244 stopped the Phase 3 ultimate overlapping absorption, v246 dropped the entry item, v249 cut two Phase 2-3 patterns.
- HP estimates Overdrive HP is estimated from the published KMS reductions.
Recommended · Hard KMS solo minimum-cut clears around 45k (Aug 2024, before OVERDRIVE).
Sources
Research checked .
- MapleStory Wiki - Black Mage/MonsterMapleStory Wiki contributors · wiki
- MapleSEA v221 patch notes 2Nexon SEA · official
- MapleSEA v214 patch notesNexon SEA · official
- MapleSEA v249 patch notesNexon SEA · official
- KMS 1.2.416 OVERDRIVE patch notesNexon Korea · official
- DigitalTQ - MapleStory Black Mage guideAleph (DigitalTQ) · guide
- Inven - Black Mage solo guideInven community · guide
- Dexless - Black Mage boss guide and Genesis weaponsPirateIzzy (Dexless) · guide
- MapleTools - Black MageMapleTools · tool
- MapleSEA v243 NEXT II patch notes (Union Champion)Nexon SEA · official
- KMS official guide - Union ChampionNexon Korea · official